![]()
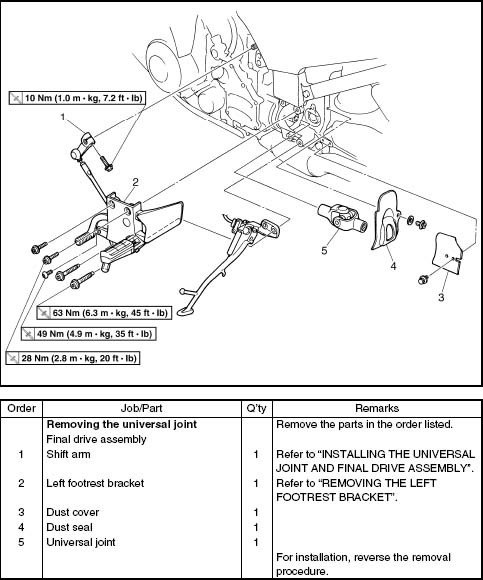
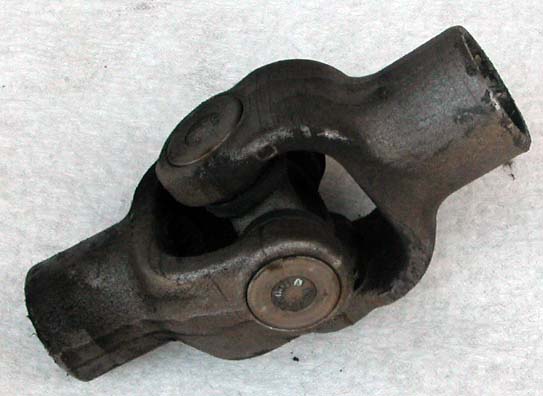
| Universal Joint Maintenance Servicing the U-Joint for the FJR1300 is very straight forward. It's easy to access when servicing the driveline splines and, because of that, ought to be considered part of that job. You're already in that area anyway, so why not. The following steps are shown on a 2003 model (non-ABS). There may be some differences between ABS and non-ABS when removing the wheel (consult your shop manual if you have questions), but the rest should be the same. In the photos I have the mufflers removed because I was doing other projects. You do not have to remove them to service either the drive shaft or the u-joint. The detailed steps are: 2. Pull the final drive assembly - As described in Drive Shaft Splines maintenance
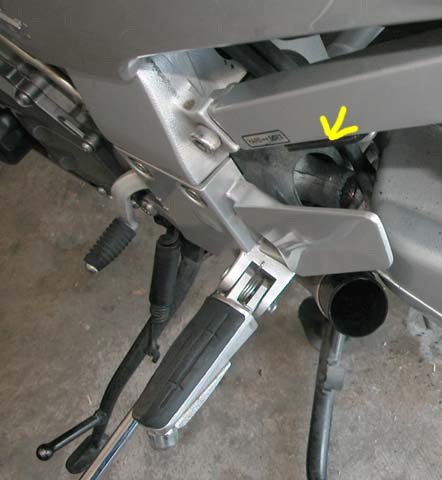
3. Remove dust cover (#3, 2 fasteners hold it) and dust seal (#4, 1 quick fastener)
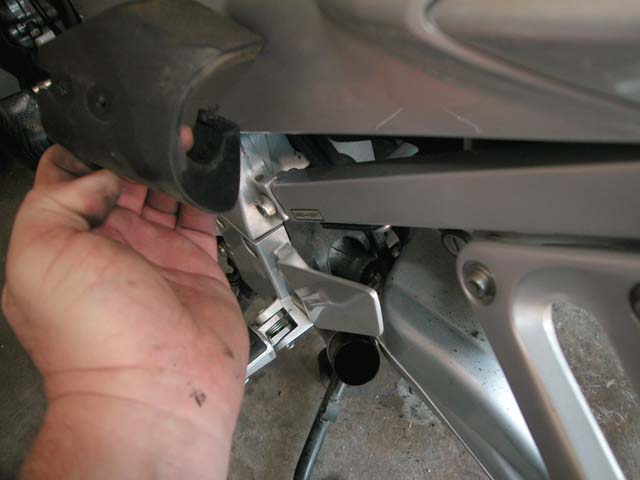
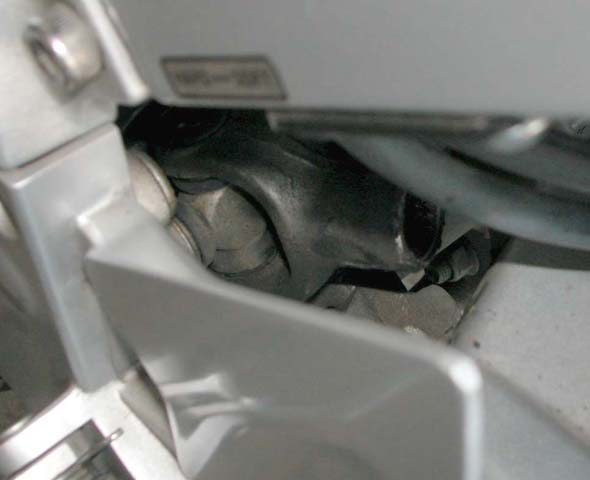
4. Slide the u-joint off the output shaft
5. Clean the u-joint with something that won't attack the bearing seals
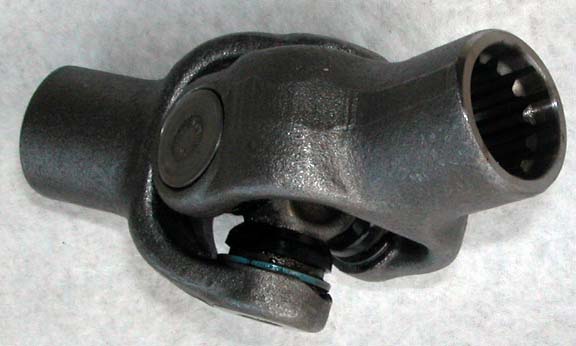
6. Clean the output shaft splines and the surrounding area (as in #5) 7. Clean the dust cover and dust seal (as in #5) 8. Lube all splines with an appropriate high-pressure moly grease
9. Reassemble in reverse order
All
material on this site (c) 1995 - Present, Mark Johnson. All rights
reserved. |