2008
Subaru WRX STi
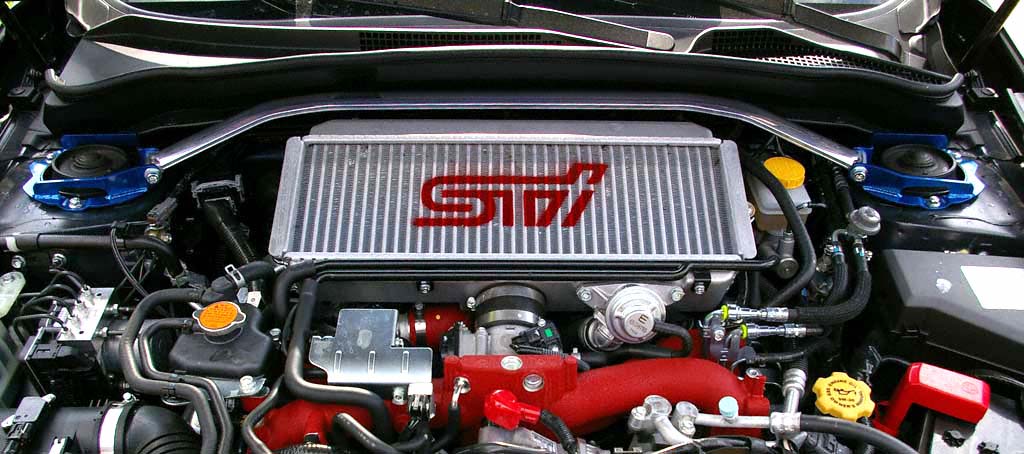
Cusco Front Strut Brace
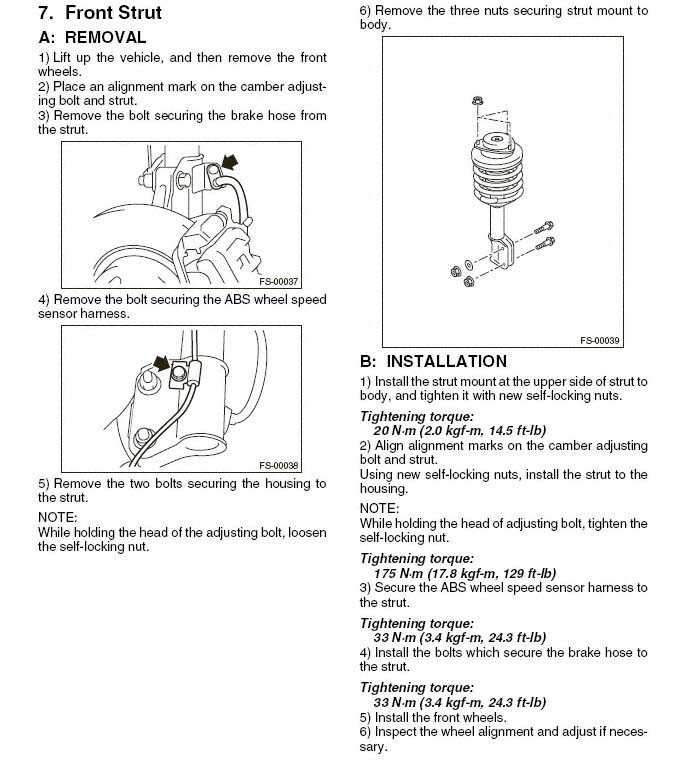
Installation
Installing the Cusco front strut brace is pretty straight forward... if you can read Japanese. It seems that the instructions that are included in the package are written in only Japanese. If you don't read Japanese, then maybe this article will help you sort things out.
The Cusco front strut brace kit includes the brace and the instructions. You'll re-use the 6 factory self-locking nuts.
Before you begin, you'll want to line up the tools needed for the job.
| 8 mm allen wrench |
| 14 mm socket |
| 17 mm open end wrench |
| ratchet handle |
| torque wrench |
During the installation you'll want to work on only one strut tower at a time. Only loosen one set of nuts at a time, do not turn the steering wheel while the nuts are loose, and I personally also recommend avoiding leaning on the car as much as possible while the top nuts are loose. All of these percautions are to minimize changes to the allignment while working on the installation.
First, loosen the left and right hinges on the strut brace using the 17mm open end wrench and the 8mm allen head wrench. You want to be able to move the brace around as you attach each side bracket to the car's strut towers.
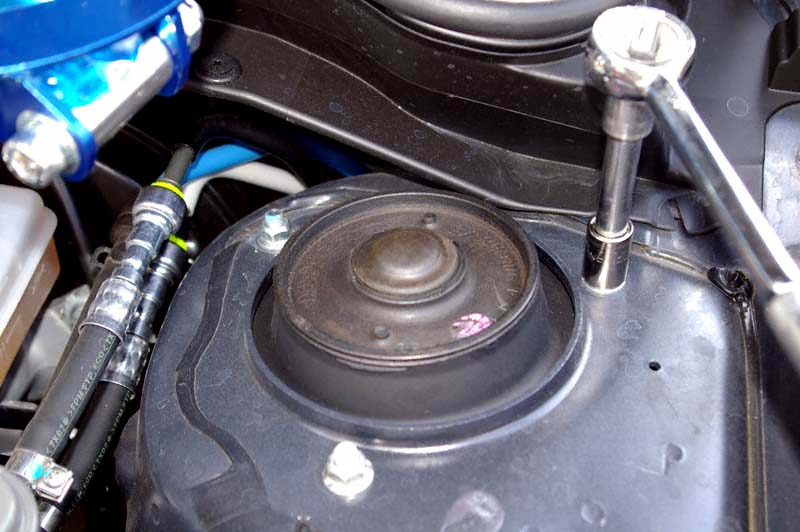
Next, remove one set (3) of the strut tower nuts using the 14mm socket. This photo shows the right set being removed.
Re-using the 3 factory self-locking nuts, mount the strut brace bracket to the strut tower; snugging them up but not tightening them to spec yet. Lay the other strut brace bracket over the top of the OEM nuts. Check for proper clearance of hoses and wires. Torque the first three nuts to 20 Nm (14.5 ft-lb) as described in 7B1 below.
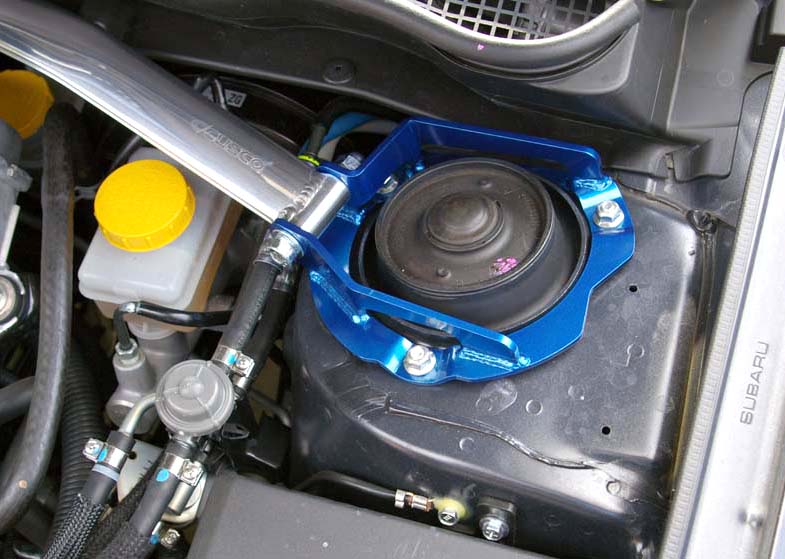
Repeat the process for the bracket on the other side. Again torquing the remaining 3 nuts to 20 Nm (14.5 ft-lb).
Double check clearances of the strut brace along the firewall before using the 17mm open end wrench and 8mm allen wrench to tighten the strut brace hinges. Tighten both until the lock washers are flush.
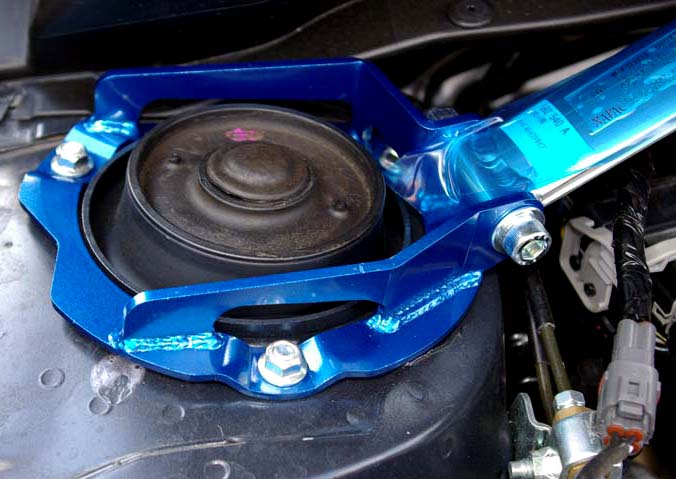
Peel off the blue protective film, remove the stickers near the left bracket and use your favorite cleaning products to polish things up. Last, but not least, step back and appreciate this well-made bit of kit.
(C) 1995 - Present, Mark Johnson